Testing your code with PHPUnit
Good software development requires well-thought-out solutions, and modular reusable code that's extendable. Continuous good software development requires testing. You can write fantastic code without the use of testing, but good luck maintaining the code over a long period of time, with many pull requests and various changes.
Luckily testing isn't that hard to implement, and will actually help you in more ways than just keeping your code maintainable. TDD (Test Driven Development) is actually a great method for breaking down bigger problems into smaller problems. Programming after all, is just a series of inputs and outputs, so if you start by thinking what those inputs and outputs are, then you've already begun the process of breaking down your larger problem into a series of smaller ones, and have better articulated the goal you're trying to reach with your code.
In the future, there are rumours that we may implement a rule where you are not allowed to make pull requests if you don't have tests written, which your code passes. Whether that rule is implemented or not, if you're a backend developer you should treat this as a part of your job that you should know how to do.
Step 1: Configuring the composer.json file
We need to create/add the following lines to our composer.json file:
// ...
  "require-dev": {
    "phpunit/phpunit": "^9.6",
    "yoast/phpunit-polyfills": "^2.0"
  },
  "require": {},
  "config": {
    "allow-plugins": {
      "roots/wordpress-core-installer": true
    }
  },
// ...
Then run composer install. If you have issues with this in your project, delete the composer.lock file and re-run the command to solve it.
Step 2: Clone the wordpress-develop.git repo
Run 'git clone https://github.com/WordPress/wordpress-develop.git' in the root of directory of your project.
Add the following to your .gitignore file:
/.phpunit.cache
/wordpress-develop
/coverage
Step 3: Create a Database and add it to the wordpress-develop config
First create a database using your preferred method. For simplicity I'll use Laragon and phpMyAdmin (PMA) for this tutorial.
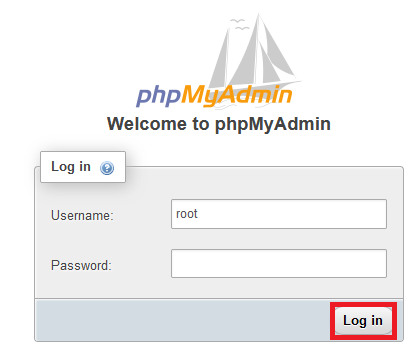
Launch PMA
Open Laragon and click "Database".

If you've already added PMA to Laragon this will launch it in your default browser. If you haven't, right-click on the Laragon window and select Tools->Quick Add->*phpmyadmin. If you haven't customized the configuration the login should be root with no password provided.
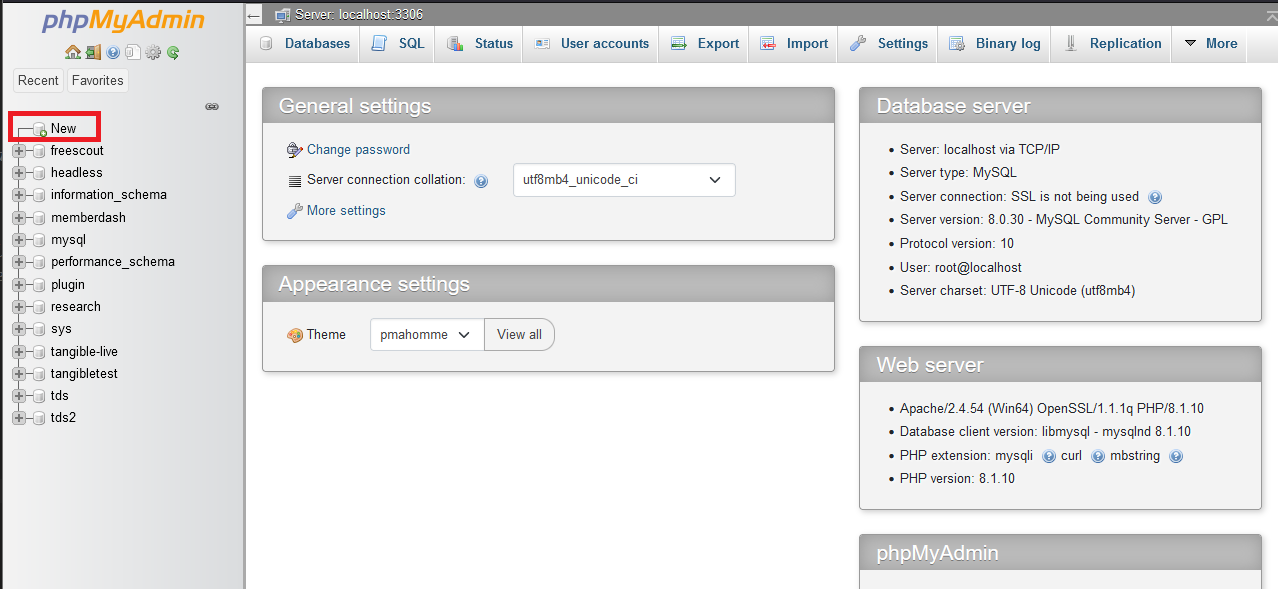
Create a new database
Once you've logged into PMA, create a new database by clicking the "New" action in the database navigation list.

Update wordpress-develop configuration
In the wordpress-develop git repo, rename the wp-tests-config-sample.php file to wp-tests-config.php. You can make any edits here you'd like, but the only necessary changes are to define which database it should use.
define( 'DB_NAME', 'tangibletest' );
define( 'DB_USER', 'root' );
define( 'DB_PASSWORD', '');
define( 'DB_HOST', '127.0.0.1' );
define( 'DB_CHARSET', 'utf8' );
define( 'DB_COLLATE', '');
DB_NAMEmatches the name of the database we createdDB_USERmatches the login we used to get into phpmyadmin, and so does theDB_PASSWORDDB_HOSTwill most likely be 127.0.0.1DB_CHARSETandDB_COLLATEcan be left as-is in most cases
Step 4: Run npm
Open the wordpress-develop in your terminal and run the following command to rebuild the dev project
npm i; npm run build: dev
You'll need to have Node installed on your computer for this command to run.
Check if you have it already by typing node -v, which will return the version of Node you have installed. Use the latest stable version. If you have it but are running the wrong version you can use nvm install node --lts, and it will install the latest stable version for you. Switch to the latest version by running this command nvm use --lts.
Step 5: Create the bootstrap.php file
Create tests/phpunit/bootstrap.php in the root of your project.
<?php

if (!$_WORDPRESS_DEVELOP_DIR = getenv('WORDPRESS_DEVELOP_DIR')) {
	$_WORDPRESS_DEVELOP_DIR = __DIR__ . '/../../wordpress-develop/';
}
/**
 * Directory of PHPUnit test files
 * @see https://developer.wordpress.org/block-editor/reference-guides/packages/packages-env/#using-included-wordpress-phpunit-test-files
 */
if (!$_WORDPRESS_TESTS_DIR = getenv('WP_TESTS_DIR')) {
	$_WORDPRESS_TESTS_DIR = $_WORDPRESS_DEVELOP_DIR . '/tests/phpunit';
}

$_PLUGIN_ENTRYPOINT = __DIR__ . '/../../plugin.php';

require_once $_WORDPRESS_TESTS_DIR . '/includes/functions.php';

tests_add_filter('muplugins_loaded', function() use ($_PLUGIN_ENTRYPOINT) {

	require_once __DIR__ . '/helpers/index.php';

	require $_PLUGIN_ENTRYPOINT;
});

require $_WORDPRESS_TESTS_DIR . '/includes/bootstrap.php';

require __DIR__ . '/case.php';
You will need to change the $_PLUGIN_ENTRYPOINT variable to the entrypoint of your plugin or module. In the case of a plugin, this would be the file that contains your plugin header.
Step 6: Create and run tests
You'll create test classes somewhere inside of tests/phpunit. The classes in object oriented programming tend to mimic classes you've created. We tend a bit less class-oriented in our work, so you'll have to make logical divisions when determining what goes into your test classes. The principle of unit testing is to divide your code into the smallest units possible, and to test those units. This means that each function inside the class will test only one modular piece of code. The key here is isolation: we want to be sure that single part (or unit) of our code works independent of other parts so that we can quickly and easily isolate problems in our code by running our tests.
For documentation on writing tests, see the PHPUnit documentation on assertions.
Your test classes will typically extend WP_UnitTestCase. They usually include a function called setUp which will run some code ahead of each of your tests. This is a good place to initialize our plugin variable if we need it. Next, in our functions it's very common to test a function in our plugin and to check if an input to that function gives us the desired output.
Here is a very basic example for demonstration purposes:
$plugin->mySumTest = function($num1, $num2) use ($plugin) {
    return $num1 + $num2;
};
<?php
class Testing1 extends WP_UnitTestCase {
    private $plugin = null;
    public function setUp(): void {
        $this->plugin = tangible_datastream();
        parent::setUp();
    }
    public function test_mySumTest() {
        $this->assertEquals(10, $this->plugin->mySumTest(5,5));
    }
}
The mySumTest function simply adds two numbers and returns their sum.
The test class where the plugin variable used in the test is set up. It includes parent::setUp() in the setUp function. This should always be included.
Next is a function which tests the mySumTest example function. the assertEquals is checking that the result of mySumTest taking inputs of 5 and 5 will output 10. This test will pass, assuming mySumTest was correctly designed output the sum of its inputs.
To run the tests in your console, call vendor/bin/phpunit. If you want nicer output, call vendor/bin/phpunit --testdox. You will get back a series of . and E. The . represent a passed test and the E represent a test that failed with an error.
- Official PHPUnit docs: https://phpunit.de/documentation.html
- Some examples on how to do testing with PHPUnit: https://www.freecodecamp.org/news/test-php-code-with-phpunit/
- Documentation of the testing setup in the fields framework: https://github.com/TangibleInc/fields/tree/main#tests