ClickUp for Developers
View and create tasks, organized by space and folder. Track statuses, due dates and dependencies. Build dashboards.
Tangible's ClickUp account
📒 General structure
There's a particular structure Tangible generally uses in ClickUp. It's roughly this:
- A client account → ClickUp Space
- A client project → ClickUp Folder
- A complex featureset → ClickUp List
- A goal or planned feature launch → ClickUp Milestone
- A deliverable (interface, document, design screen, feature, bugfix) or other work item that a client has requested → ClickUp Task
- A minimum addressable task when further detail is required for a work item or its delivery must be assigned to multiple team members → ClickUp Subtask
- A small request, scheduled consulting call or other responsibility that requires time tracking but doesn't need to have specific details attached to the work item → Evergreen task
Intro to the ClickUp Hierarchy
🙋♀️ Assignments and other user-task associations
Clickup tasks can have people associated with them in the following ways:
- Assignees: the task has been delegated to this/these user/s. They are responsible for doing the work required to complete it, and moving it between active statuses (Ready to start → In progress → In review).
- Watchers: watchers are users who recieve notifications about updates to the task.
- Assigner: a custom field meant to contain the project manager who created and assigned the task, or who is currently overseeing it.
⚠️ Dependencies
ClickUp allows definitions of dependency relationships between tasks. These relationships mean that one task is defined as "blocking" another, and needs to be completed before the task it is blocking can be completed.
Dependencies are especially useful for linking tasks to Milestones.
Learn more about dependency relationships
📣 Statuses
Tangible has developed some default statuses to help organise our client and internal projects. We generally use these as the default for all spaces.
Tangible's default statuses are:
- 🌲 Evergreen Tasks: This task won't switch statuses until it's no longer of use, at which point it will be closed. For generic tasks like "Project management and client communication" or "Small requests or project consultation".
- 🩶 Ideas: This task is just a concept, it hasn't been scoped out or the client isn't yet interested in an estimate.
- 🧡 Requires Estimate: This task is pending estimates from the team.
- 💛 Pending Greenlight: This task is pending approval from the client, we've sent them a proposal or estimates.
- 🩵 Ready to start: This task is ready for delegation, or the team member it has been delegated to hasn't begun work on it yet.
- 💙 In progress: A team member is actively working on this task.
- 💚 In review: The assigned team member feels they have met the criteria layed out in the task. This task is pending review by the assigner.
- ✅ Completed: The assigner has reviewed the task and deemed it completed. They will now inform the client that the task is complete/launched.
- 🗄️ Closed/Cancelled:: This task doesn't need any further action and is unlikely to be re-opened.
Developers and implementers are responsible for the following status changes:
- 🩵 Ready to start → 💙 In progress: When a developer or implementation team member starts working on a task they've been assigned, they move it to the In progress status to indicate that it's being worked on.
- 💙 In progress → 💚 In review: When a developer or implementation team member has completed a task and feels that it's ready for QA and review by a project manager, they move it into the In review status to indicate that it's completed.
Statuses may, in some cases, be overridden on individual folders and lists, which may benefit from use-case-specific statuses, such as content production, quality assurance, ongoing plugin development, bug tracking, etc.
Learn more about ClickUp Status functionality
🕰️ Time estimate and time tracked
Tangible handles time tracking in a separate, integrated tool called Hubstaff. Tasks are synced to Hubstaff from ClickUp, and recorded time is synced back to ClickUp from Hubstaff.
Time should never be tracked directly in ClickUp or using its Chrome extension, nor should time be manually added to tasks in ClickUp. All tracked time should originate in Hubstaff.
Time estimates live on ClickUp tasks. Estimates can be entered into tasks directly, or be indicated in comments by developers or implementation team members. The PM indicated in the assigner field should always be notified when an estimate has been entered.
Once they've been collected, these estimates will be reviewed by a strategist and adjusted if needed. Inputting estimates helps us to keep track of how much time we've used against the budgeted time for the task. Estimates should be written in actual hours needed by developers.
Learn more about Time estimates | Learn more about the ClickUp-Hubstaff integration
Workload management and personal organisation tools
ClickUp offers an overwhelming amount of features and tools. Here are some that can be helpful for personal organisation, and helping other team members organise themselves.
📋 Personal List
Tasks on your personal list are only visible to you. Don't use this for anything that needs to be synced to Hubstaff, or anything that others need to collaborate on or be able to view. Tasks in your personal list are only visible on your home page.
Learn more about Personal Lists
📌 Tray
The tray is a tool for temporarily pinning a task or a doc so that you can quickly access it wherever you are. Add tasks to your tray by using the "Minimize" action when viewing a task, or selecting Add to → Tray in the context menu in a task listing view.
Learn more about minimizing tasks to the tray | Learn more about minimizing docs to the tray
📚 Priorities
Priorities is a tool for creating a small collection of tasks you're currently focused on for easy reference and recall.
To add a task to your Priorities, select Add to → Personal Priorities in the context menu in a task view. Tasks at the top of Priorities are "next up" and are removed from the stack once they're complete, just like the stack of books next to your bed!
📝 Notepad
Keep small named notes. Open the notepad with keyboard command k or by clicking the "Open Notepad" icon in the topbar quick action menu.
⏰ Reminders
ClickUp lets you schedule reminders, for things you want to be notified about but which shouldn't be tasks. Reminders can be created on your own behalf or delegated to other users. Reminders can be created with the keyboard command r, from the command center, or by clicking the "Create a reminder" icon in the topbar quick action menu. Reminders can be scheduled and support recurrence.
Intro to Reminders | Recurring Reminders
📆 Planner
ClickUp's planner is a personal scheduling tool that can help you plan your days in advance and indicate to other team members and project managers when you're busy and can't work on other tasks. Going forward, we'll assume that you're not busy if your planner is empty, so be sure to time block so that you don't get overloaded with more work than you can handle!
Development and implementation team members fill out their planner so that managers can get visibility into what they are prioritizing. When you need to meet with other team members, schedule time via Planner, so that tasks can be attached as discussion items.
Customizing Planner
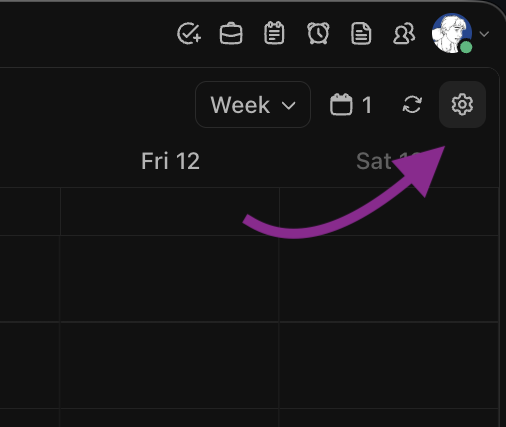
Planner settings are a bit difficult to find if you don't know where to look. Click the cog icon in the top right corner while in the planner view.
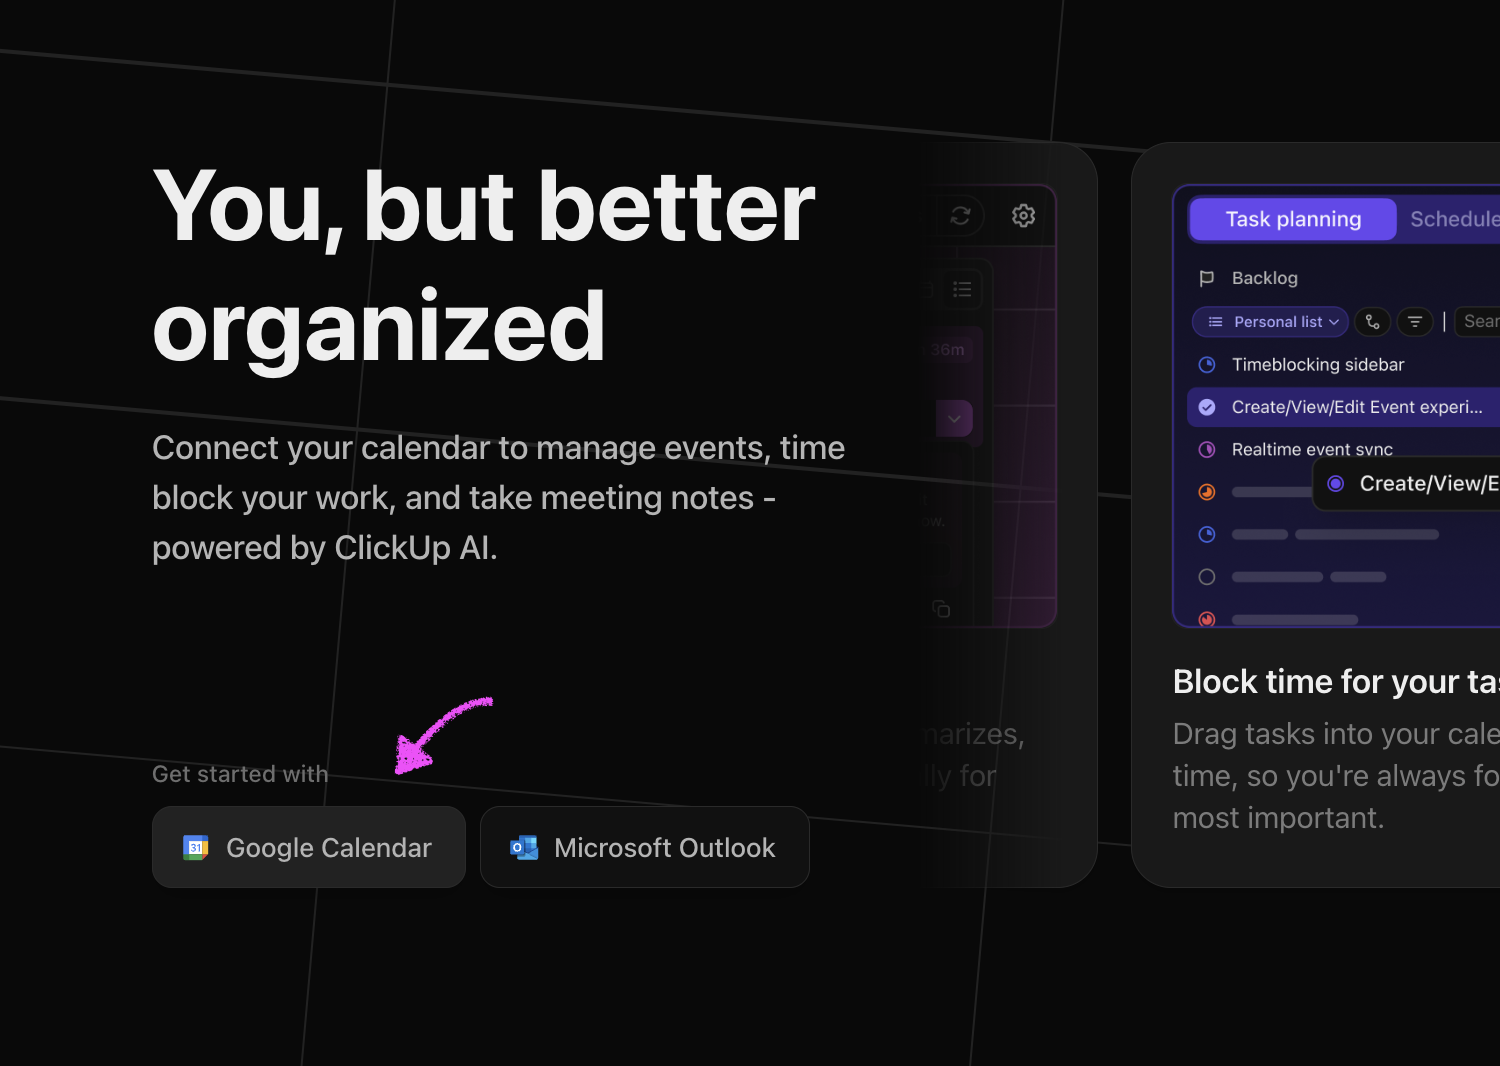
Integrating planner with your Google Calendar
The first time you visit the Planner, you'll be prompted to set up a calendar integration. Click the "Google Calendar" button to integrate with your calendar. Once you've done this your scheduled meetings will appear in ClickUp.
Customizing timezone display
You can add additional timezones to the calendar by clicking the small "+" icon above the planner's time column.
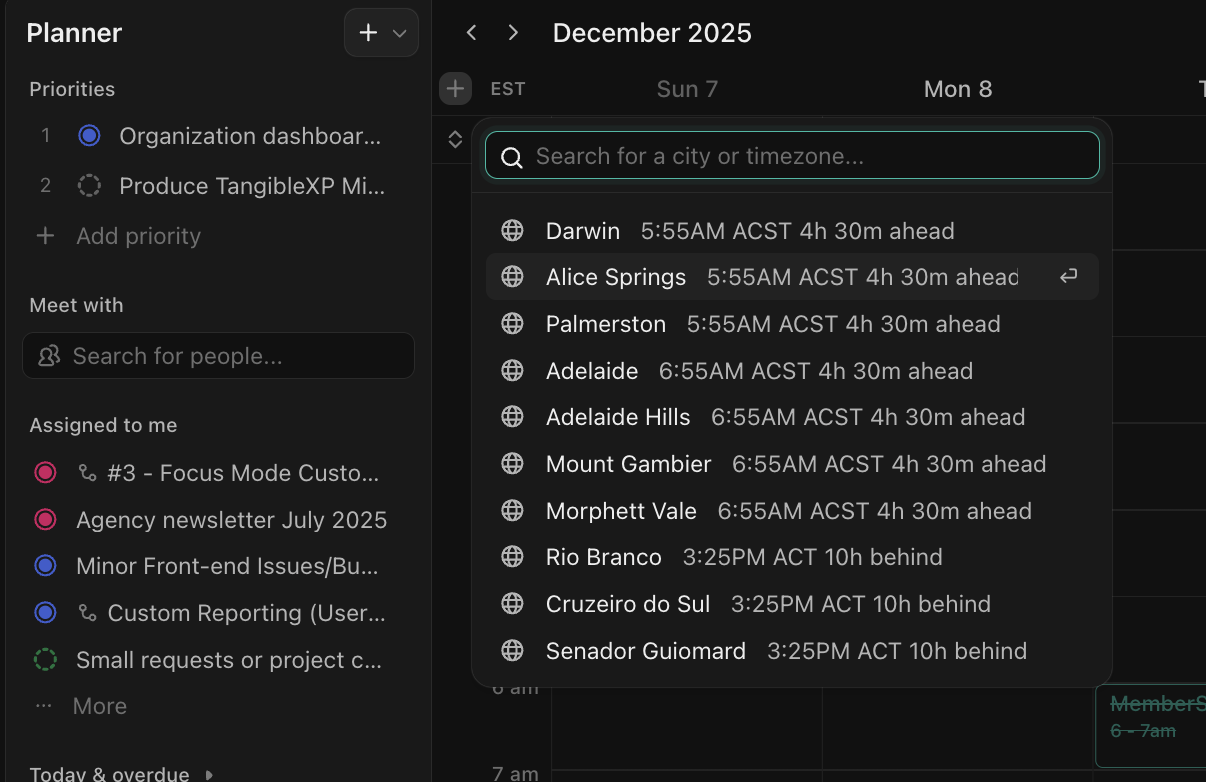 Once you've searched for a timezone and added it, you can customize its label by clicking it.
Customizing your work hours
To ensure that AI planning features work correctly and that other team members don't schedule tasks and meetings outside of your active hours, customize your work hours according to your usual weekly availability. These settings can be found in Planner settings -> Time Blocking

Using Planner
Scheduling task focus time
To plan your day, drag a task from left sidebar. If you schedule focus time for a task with other assignees, they'll recieve a Google Calendar invitation, and see the scheduled focus time in their Planner.
Scheduled Tasks differ from Scheduled Focus Time. Tasks with scheduled start and end dates/times will appear in planner, but will not be synced to Google. Focus time start and end dates can be adjusted without affecting the attached task. Focus time can be deleted without impacting the attached task. Tasks with start and end times will be completely deleted if deleted from Planner, so be careful!